How to frame a roof: A step-by-step guide?
Framing a roof may seem like a daunting task, but with the proper instructions, it can be accomplished by anyone. This blog post will provide you with a step-by-step guide on framing a roof so you can feel confident in completing the project. Armed with this information, you can frame your ceiling like a pro!
What materials do you need to frame a roof?
To frame a roof, you will need some basic materials, including lumber, nails, and roofing. The type of lumber you select will depend on the roof you are framing. For example, if you are crafting a gable roof, you will need two pieces of lumber for the top plates and one for the bottom. If framing a hip roof, you will need four pieces of lumber for the full plates.
Nails come in different sizes and shapes, depending on their intended use. Roofing nails are typically long and thin with a sharp point. They are designed to penetrate the sheathing and hold the shingles in place. There are also specialty nails such as those used for metal roofs with a large flat head so that they can be easily crimped with a hammer.
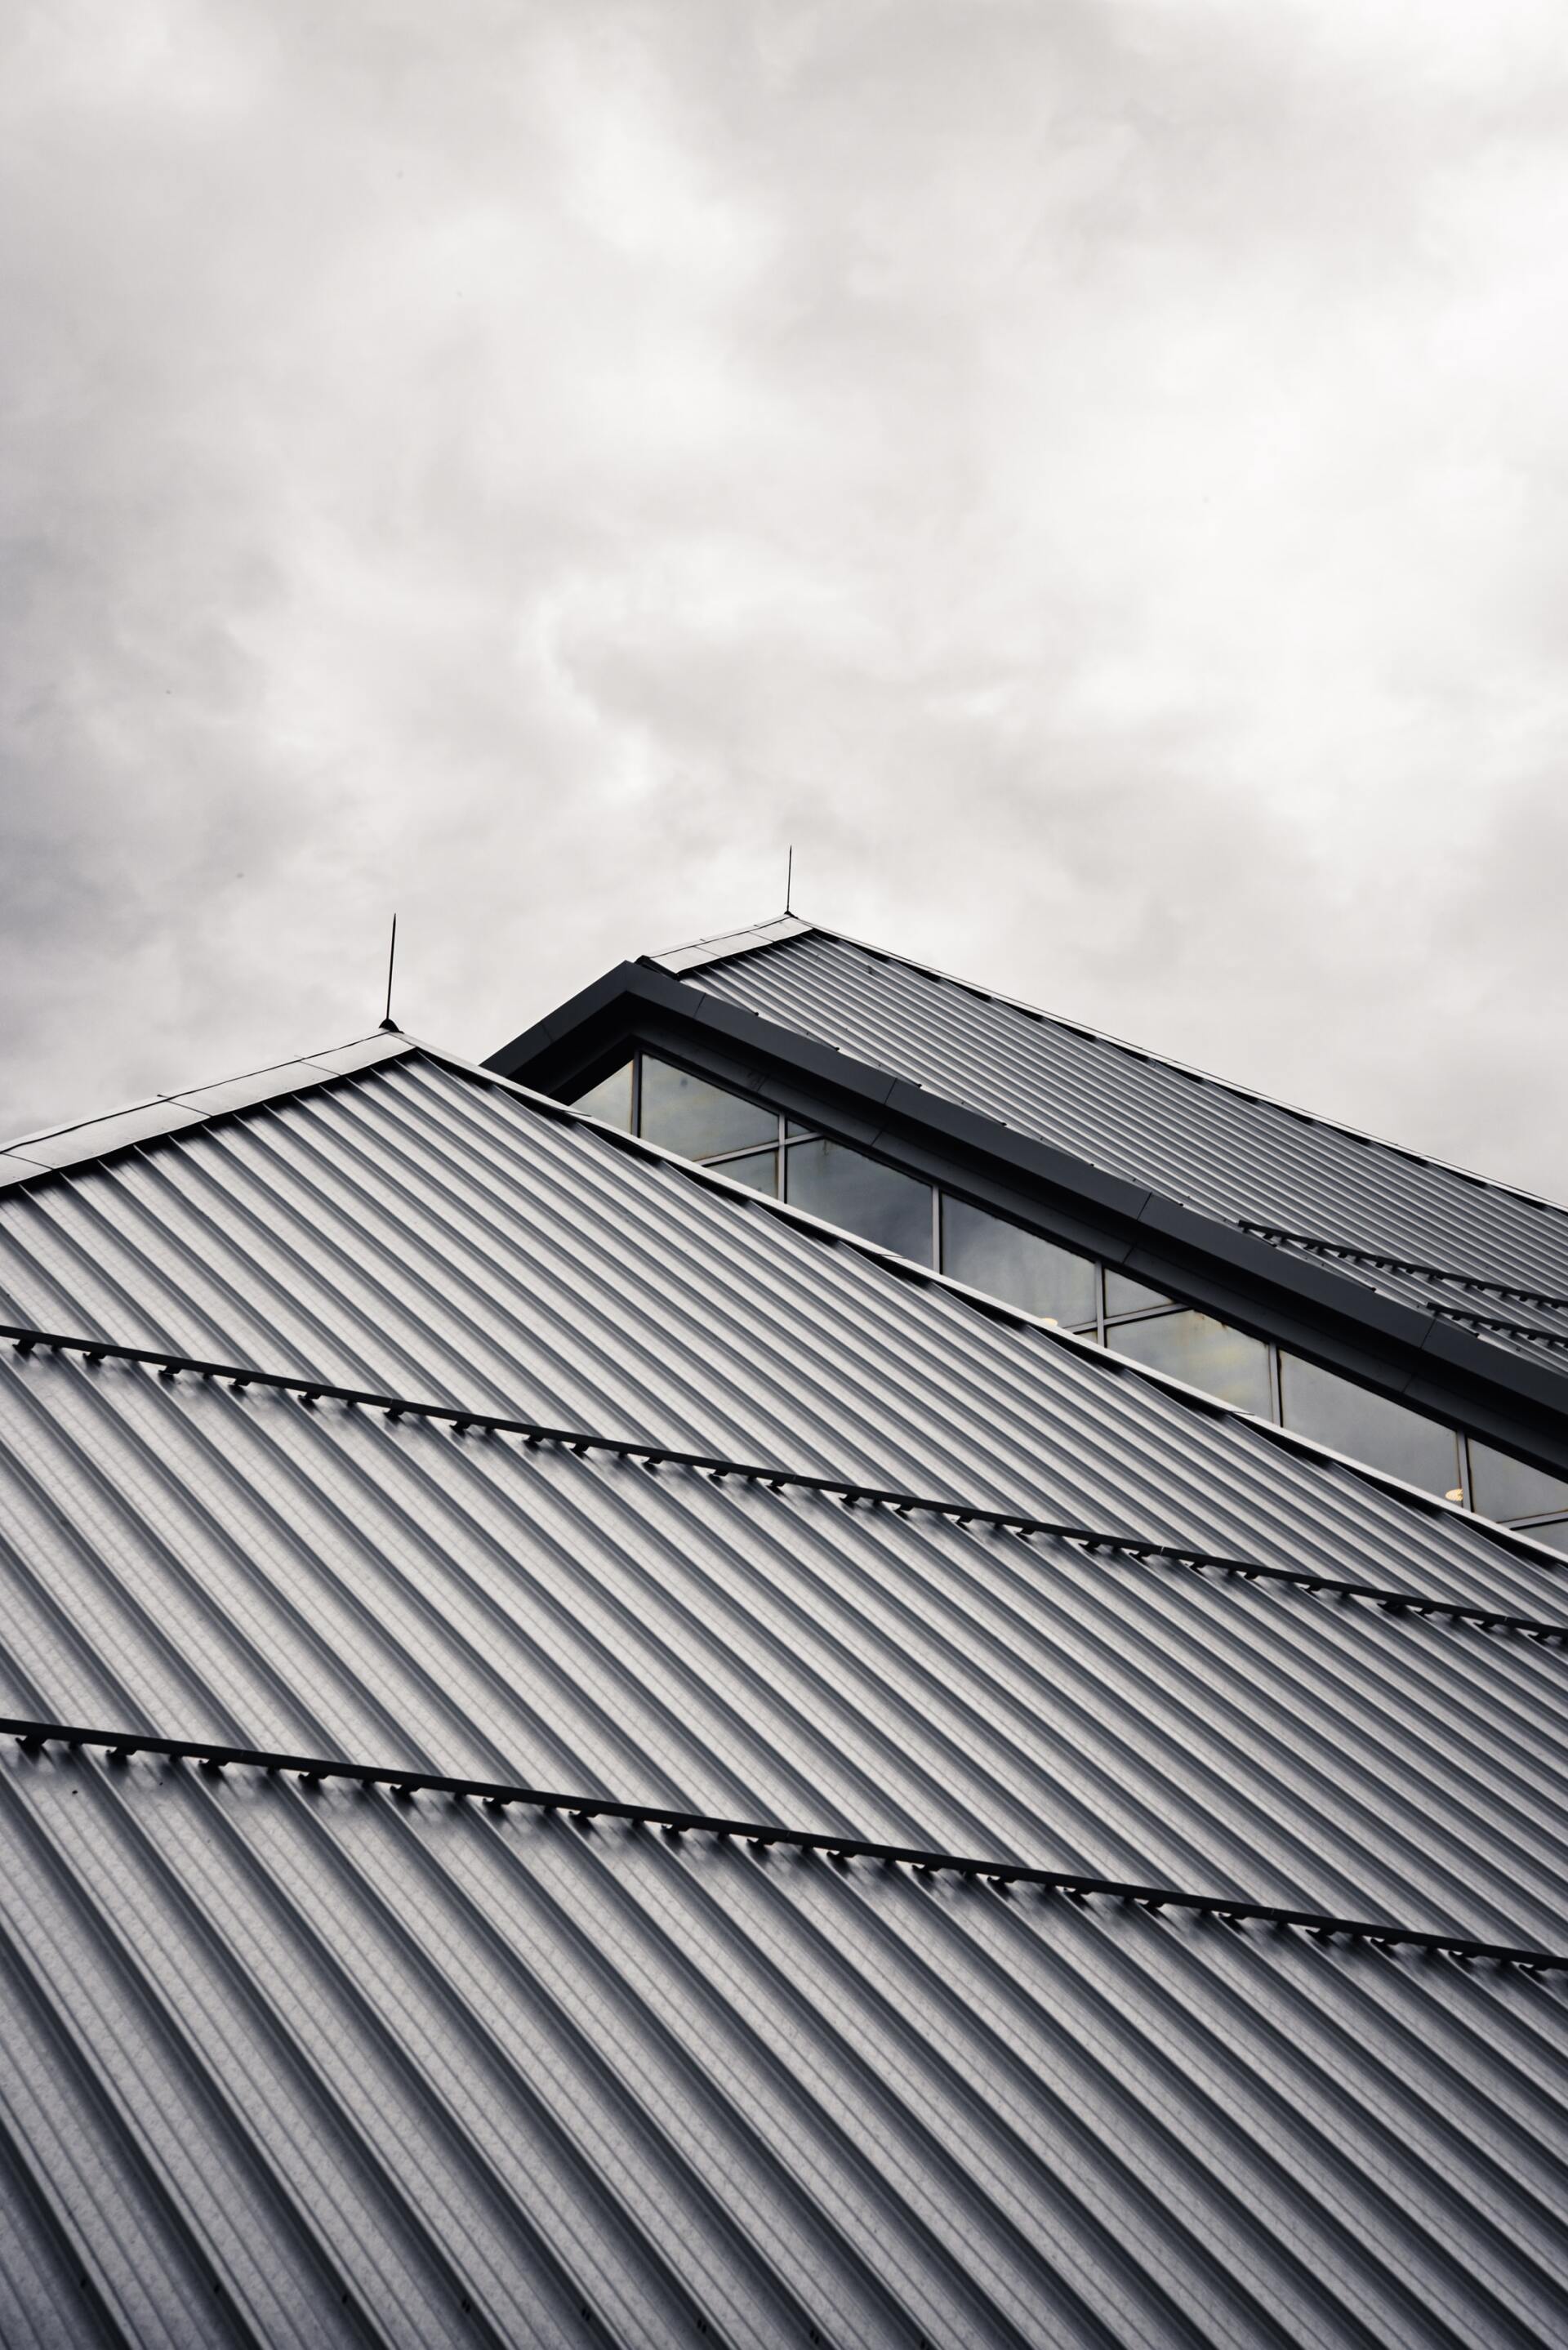
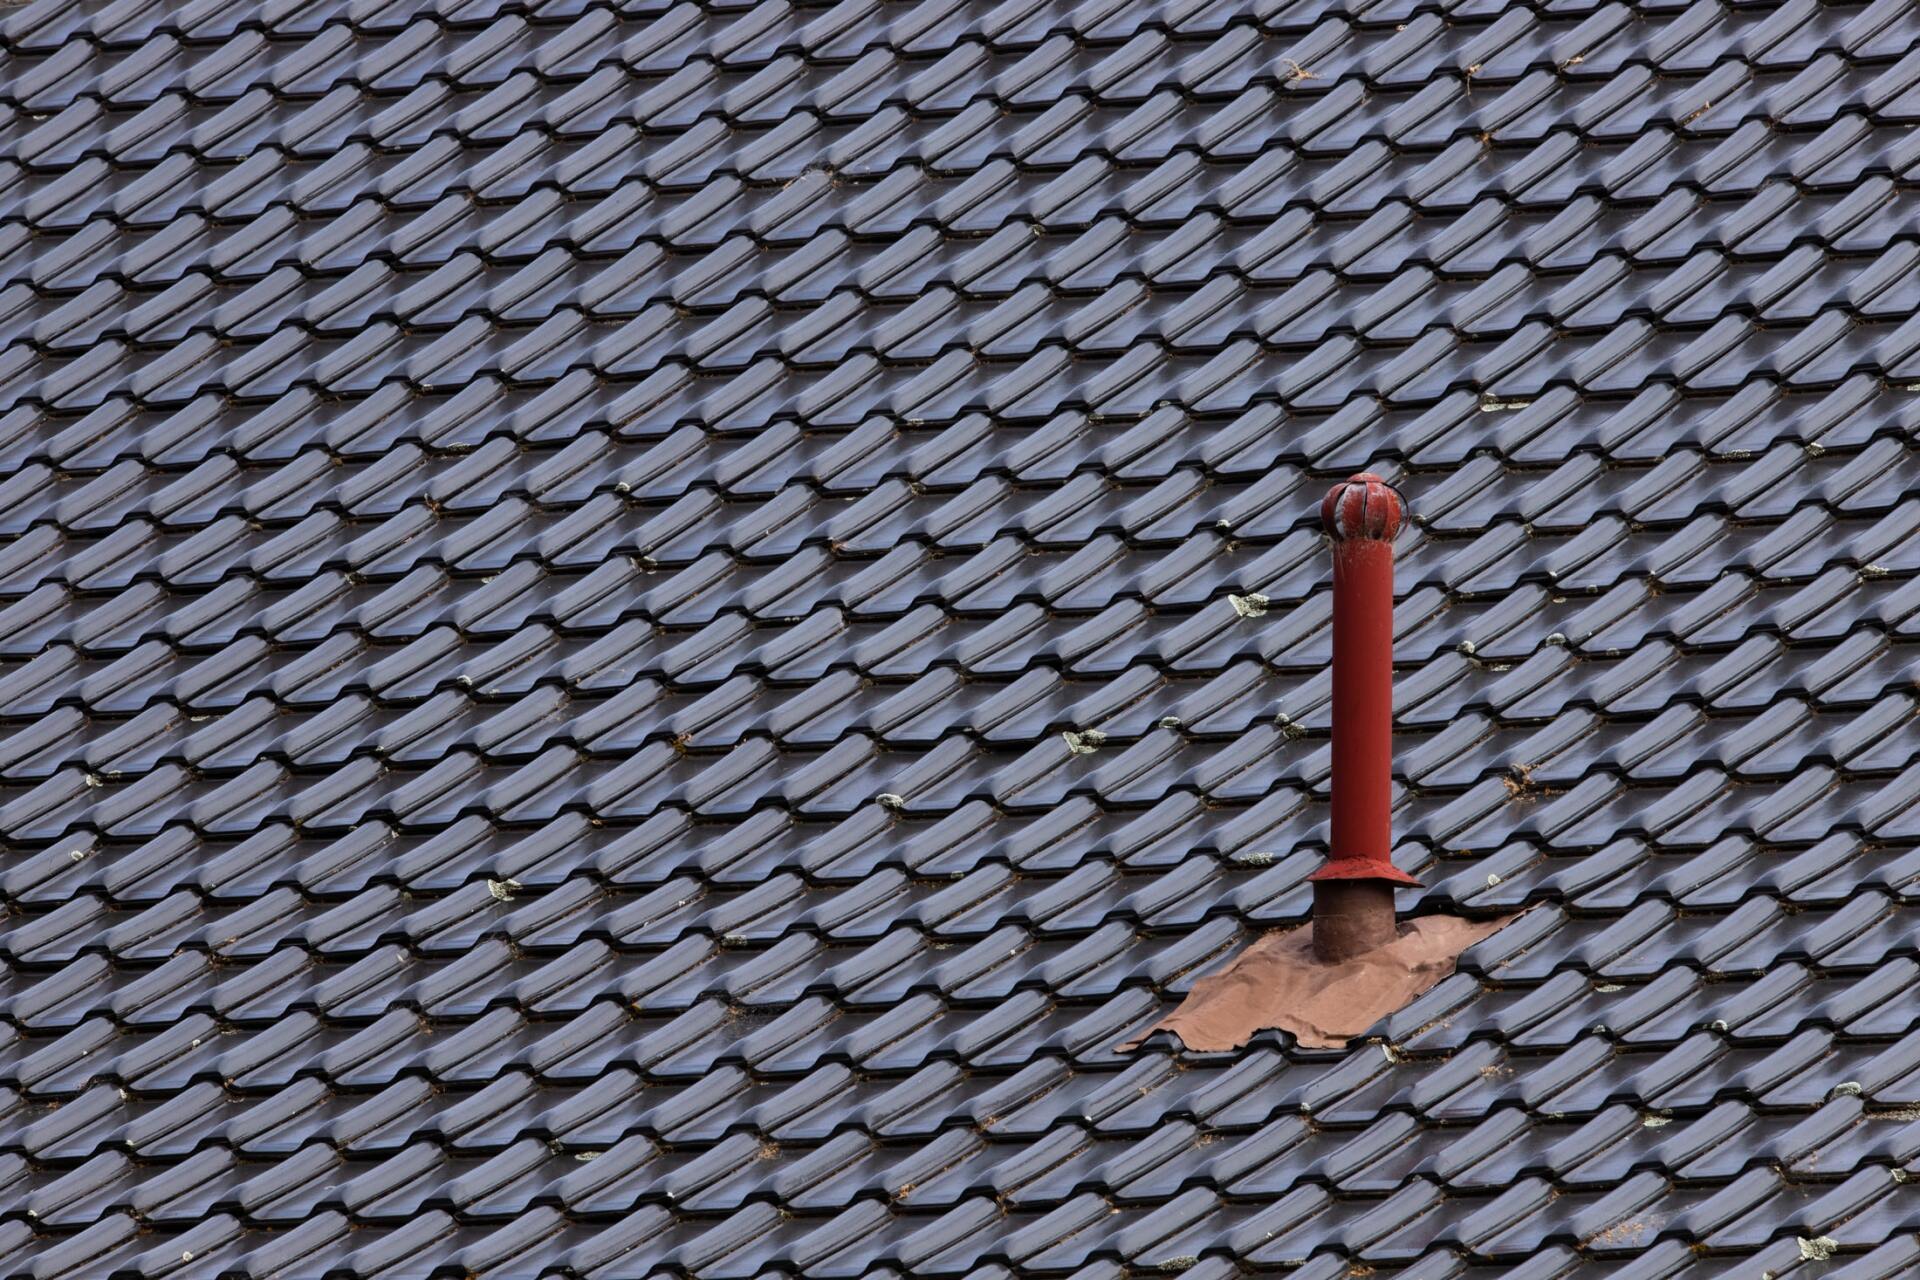
Roofing material comes in several types, including asphalt shingles, wood shakes, clay tiles, and slate tiles. Asphalt shingles are by far the most common type of roofing material, and they come in several colors, including black, brown, gray, green, red, white, and blue. Wood shakes are made from cedar or pine boards and give your home a rustic look. Clay tiles are made from fired clay and are available in various colors. Slate tiles are made from natural slate stone and offer an exquisite look.
Depending on the type of roof you are framing, you may also need additional materials such as ridge boards, valley boards, hip boards, drip edge, underlayment, and flashing. These materials help to add strength and stability to the roof and protect it from weather damage.
How to measure the roof for the correct framing size?
When framing a house, the size of the roof is an essential factor to consider. The wrong size roof frame will lead to problems with the roofing and insulation and may even cause the walls to collapse. To ensure that you are ordering the correct size roof frame, it is important to measure the roof accurately.
There are several ways to measure a roof. One way is to measure from eaves to eaves or from ridge to ridge. This will give you the width and length of the top. Another way to measure a roof is to measure its pitch. Pitch is measured in degrees, with 360 degrees being a perfect vertical slope. Most shelters have angles between 4 and 12 degrees, although some may be as steep as 24 degrees or as shallow as 2 degrees.
To find out your roof's pitch, use a level and ruler or tape measure to find two points on the top that are level (for example, two gables). Measure the distance between these points in inches or feet and divide by 12 (or by whatever unit of measurement you use). This will give you your Roof Pitch in Degrees (see example calculation below).
Calculation: Distance between points A & B = 48" Divided by 12 (for inches) = 4 Therefore, the roof's pitch is 4 degrees.
Once you have measured the width, length, and pitch of the roof, you can order the correct size roof frame. If unsure of the exact measurements, it is always better to err on the side of caution and demand a larger frame than needed. This can always be trimmed down to size, but adding material to an existing frame is much more difficult.
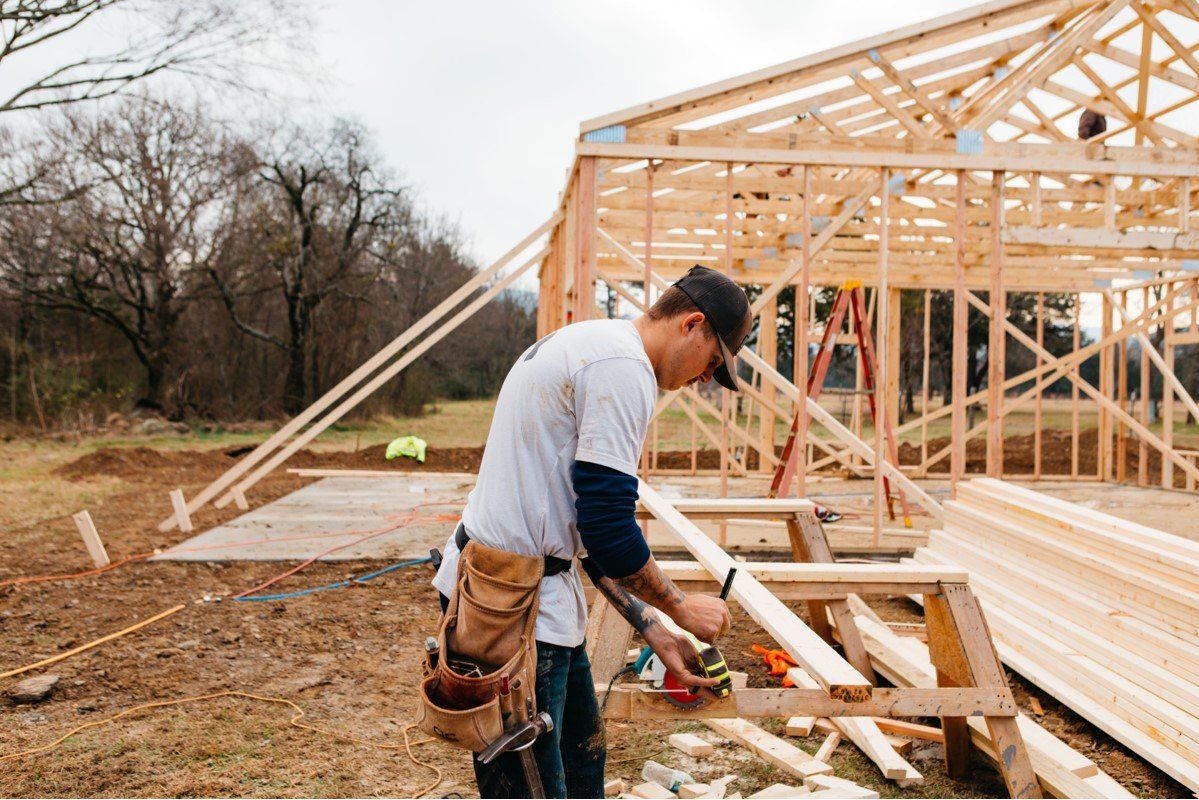
How to cut and install the lumber
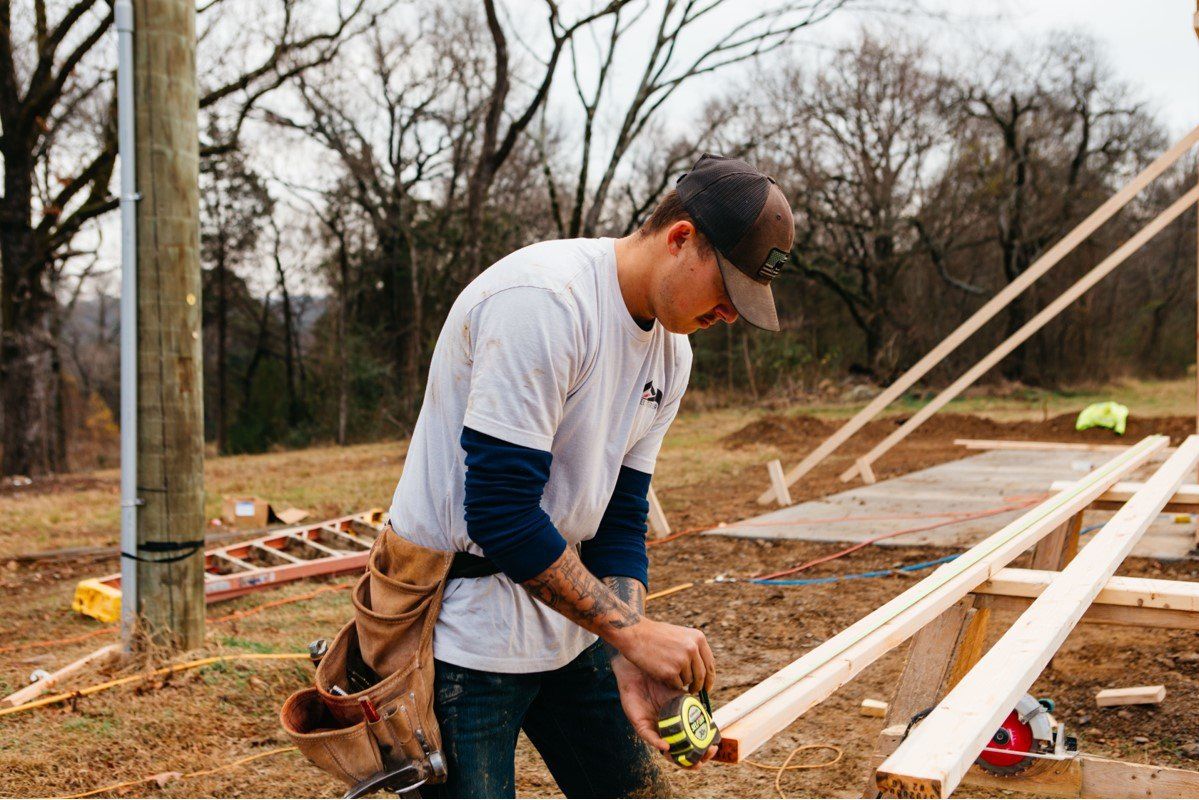
To cut and install lumber like a professional, you need to know a few basic things. The first step is to measure the space where the lumber will be installed. Once you have the measurements, you can purchase the lumber corresponding to those dimensions. Always use a tape measure when purchasing lumber, as it is crucial to get the right size boards for the project.
If you are installing flooring, it is essential to ensure that all boards are of equal length and width. This will provide a level surface and even wear across the entire floor. When cutting boards for flooring, always use a circular or miter saw. Be very careful when using these tools, as they can easily cause injury if not used properly.
Once your boards are cut to size, it is time to start the installation. Begin by laying out one board at a time and ensuring it is in the correct position before attaching it to the subfloor or wall studs with nails or screws. If possible, use a pneumatic nailer or screwdriver for this task; it will make the job go much faster. Ensure all nails and screws are flush with the board's surface, so they do not protrude and cause injury.
After all the boards are installed, you can trim any excess material with a saw. Be very careful when using power tools like this, as they can easily cause injury if not used properly. Once the excess material is removed, you can sand the surface of the lumber to create a smooth finish.
Tips for framing a roof correctly and efficiently
Framing a roof the wrong way can lead to water damage, leaks, and even structural failure. To frame a roof correctly, you must use suitable materials and follow the correct procedures. Here are some tips for framing a roof efficiently and effectively.
Choose suitable lumber for your roof. 2x6s are typically used for roof framing, but other lumber options may be better depending on the specific project requirements.- Cut the rafters to the correct length. The length of the rafters will determine the roof's pitch, so be sure to measure carefully and cut accordingly.
- Create a strong foundation for your roof by securely nailing the rafters into place. Ensure each rafter is fastened correctly to the beam it rests upon.
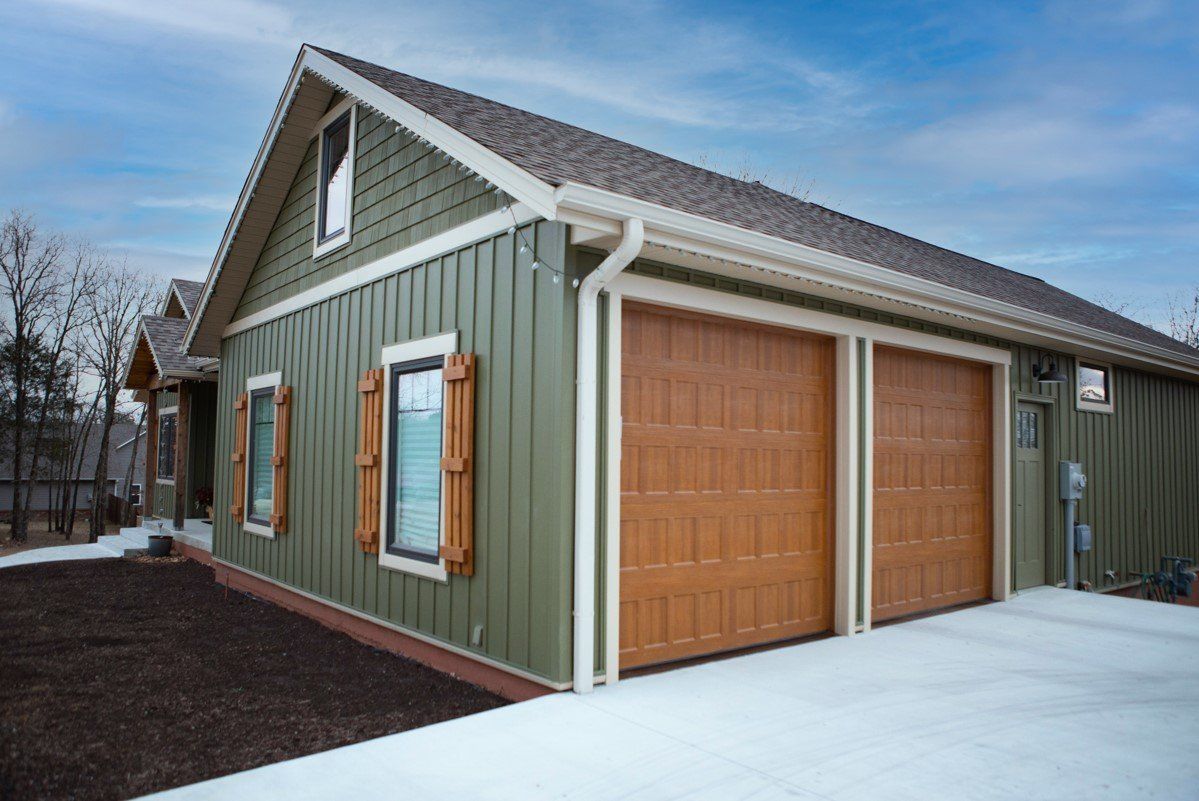
- Install sheathing to cover the framework and provide additional support. Plywood or OSB are commonly used materials for roof sheathing.
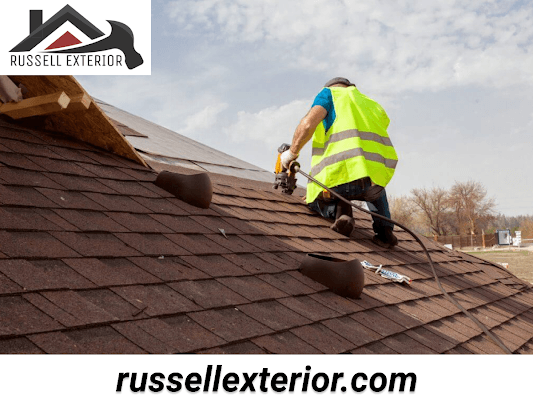
- Finish off the roof by installing shingles or other roofing material. Start at the bottom and work your way up, overlapping each row.
By following these tips, you can be sure that your roof will be properly framed and ready to withstand whatever weather comes.
What are some common mistakes people make when framing a roof?
People often make mistakes when framing a roof. This article will discuss some of the most common mistakes people make and how to avoid them.
Framing a roof is not as simple as it seems. There are many things to consider, such as the roof's pitch, the type of roofing material, and the roof's weight. If you don't frame the roof correctly, it can lead to problems down the road. Here are some of the most common mistakes people make when preparing a roof:
You are not considering the pitch of the roof. The roof's pitch is fundamental because it affects how much weight your roof can support. If you have a low-pitched roof, you will need more heavy-duty materials than a high-pitched roof.- You are not taking into account the weight of the roofing material. Different types of roofing material weigh different amounts. If you select a heavy material for a low-pitched or lightweight Roof Framing Tips For Your Home | Angie's List framerightframerightframerate, your Roof Framing Tips For Your Home | Angie's List framerightframerightframe will be much heavier than if you had chosen a lighter material. This can lead to problems with the structure of your roof.
- You are not taking into account the type of roofing material. Some types of roofing materials are more durable than others. If you choose a less durable material for your roof, it is more likely to succumb to weather damage or wear and tear over time.
- You are not considering the weight of the roof. The importance of your roof is significant because it affects how much support your framing will need. If you have a heavy roof, you need to use stronger and sturdier materials for your frame. Otherwise, your roof could collapse under the weight.
- You are not taking into account the wind load. The wind load is the amount of pressure the wind puts on your roof. If you live in an area with high winds, you must use materials that can withstand the pressure. Otherwise, your roof could be damaged or destroyed in a strong storm.
How to finish your roofing project for a professional look
Finishing a roofing project can be a daunting task. There are many things to consider to achieve a professional look. These are the necessary steps to complete your roofing project in a way that will make you proud.
First, it is important to ensure that the roof's surface is clean and free of debris before applying any finishing materials. This can be done with a broom or leaf blower. If there are any areas where the surface is uneven, these should be fixed with caulk or roofing cement before moving on.- Once the surface is ready, you can begin applying your finishing material of choice. Many people choose asphalt shingles for their roofs, as they are durable and affordable. If you are using asphalt shingles, it is important to follow the manufacturer's instructions carefully to ensure proper installation.
- Once the shingles have been applied, all of the seams and edges with roofing cement or caulking compound are important. Be sure to allow enough time for the sealant to dry before walking on the roof or allowing traffic overhead.
If you have chosen another type of finishing material, read the manufacturer's instructions carefully to ensure proper installation.
In Summary
It is important to consider all of the factors mentioned to have a successful roofing project. By following the steps listed, you can ensure that your roof looks great and will last for many years. If you are unsure how to proceed with your roofing project, contact a professional contractor who can help you get the job done right.
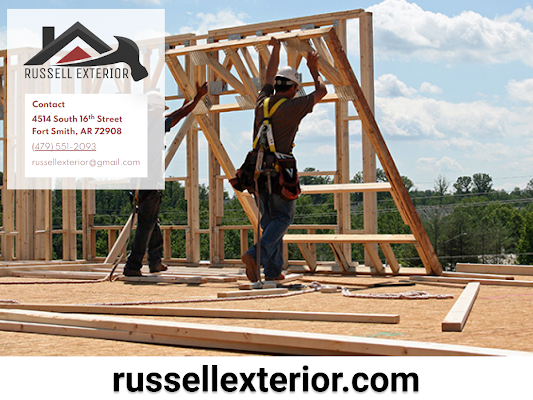
Russell Exterior is a
professional roofing contractor in Fort Smith, Arkansas. We are experienced in roofing projects and can help you get the job done right. Contact us today for a free consultation.
New Paragraph